§ 1 — C#: From Scratch
Starting A new Project
Now it’s time to learn how to write in C#. Like I said before you need to download Visual Studio(known as an integrated development environment).
This will help you write C# code and you can turn that into whatever you want, be it a desktop, mobile, or web application.
Let’s go ahead and start Visual Studio. For the sake of this example I will be using the 2017 version. Now the 2019 preview is out, and you can download it and give it a shot if you like. It has tons of great features. But for the sake of this book I’d recommend having the 2017 version.
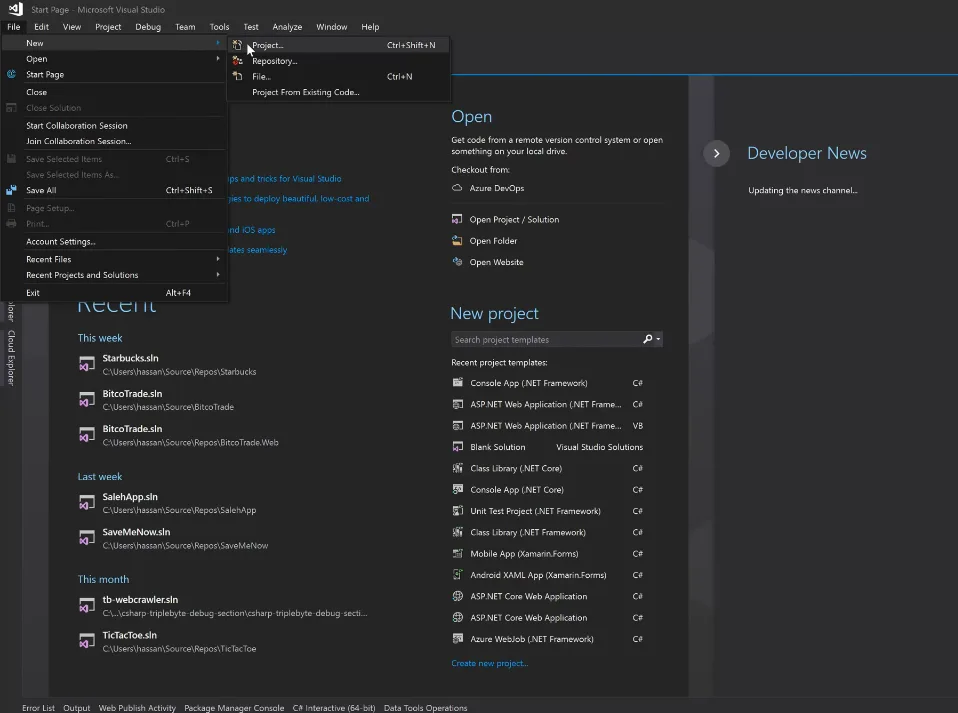
Once you start Visual Studio 2017, at the top left of the program go ahead and hit File → New → Project. Since we are dealing with the most basic programming right now, let’s start with a console application.
Go to Visual C# → Console App. At the bottom of the screen you will find the solution name. We’re going to call our solution “Demo”. Now you want to be as consistent as possible to stay organized so if your solution is called demo, then your app should be demo.app.
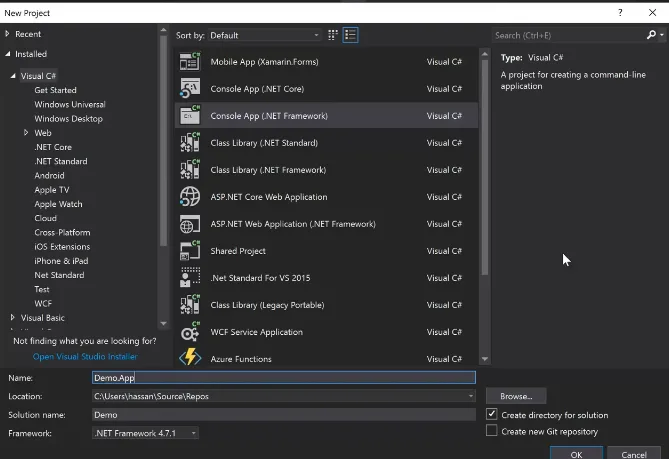
The organization of the solution is very important. You want your solution name and all the projects that come under that to make sense.
The way this works is the that the solution gets a name, then everything after that will take the solution name, then the project name.
For example, if you’re building a system for a coffee shop, the solution name will be “coffeeshop”. But then you will have extensions of that solution name - coffeeshop.web, coffeeshop.mobile, coffeeshop.android, coffeeshop.ios are some examples.
Make sure your project is ordered and organized this way so it’s easier for you to know what projects are doing what. On top of that, it’s also easier for other people to follow and understand what your project is doing and where to look for things when they’re looking for a specific item or feature.
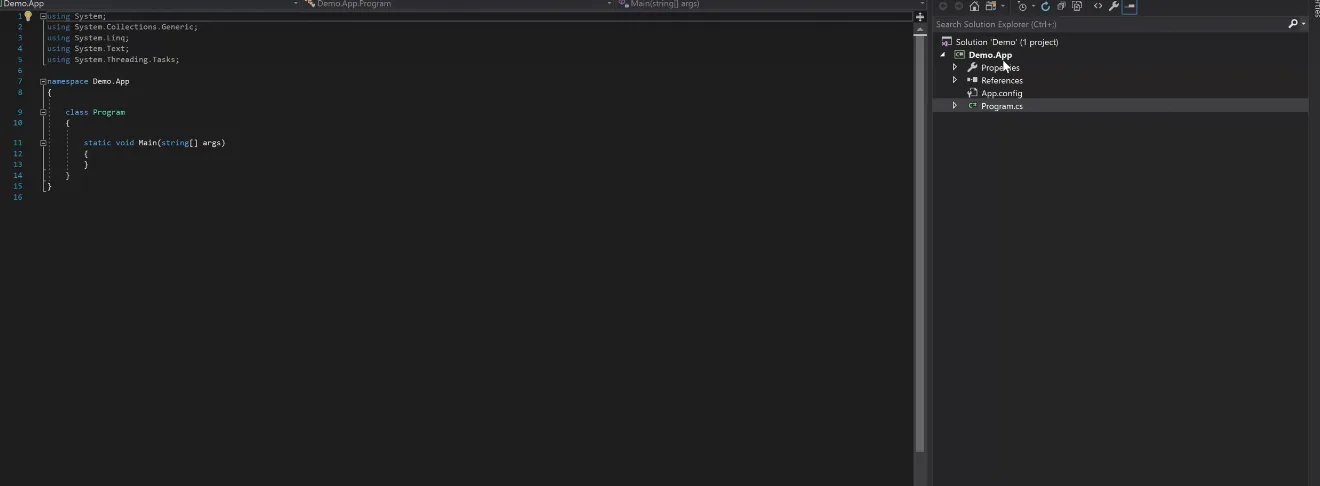
Now you’ll be taken to this screen.
using System;
using System.Collections.Generic;
using System.Linq;
using System.Text;
using System.Threading.Tasks;

namespace Demo.App
{
    class Program
    {
        static void Main(string[] args)
        {
        }
    }
}
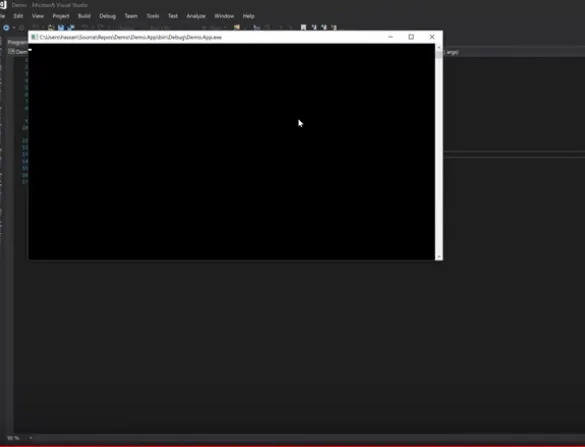
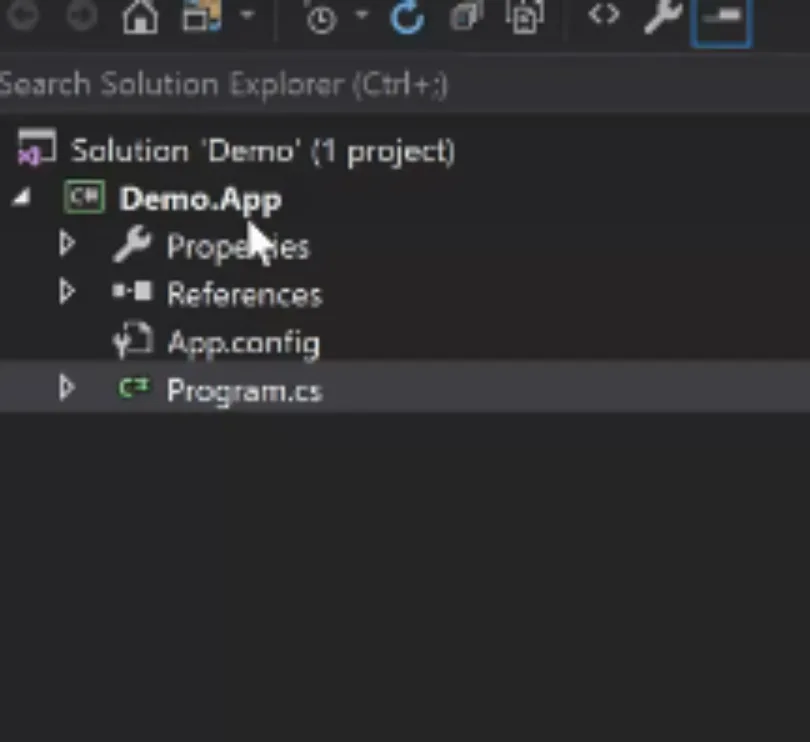
Program.cs will always be your entry point for console applications. It is the file that executes or runs. Console apps are the apps that just show a black screen - just pops up and shows you some stuff in it - console application(like the image below).
You will learn about different types of apps such as web apps and what-not.
So that was program.cs option.
Let’s go through the other options here. You’ve got properties - these are basic static values that you may need in the future to connect to a database or to a storage. We will visit properties later.
The references option holds the libraries that you want to use. And the App.config is your application configuration. Don’t worry about these right now. We will address them later.
using System;
using System.Collections.Generic;
using System.Linq;
using System.Text;
using System.Threading.Tasks;

namespace Demo.App
{
    class Program
    {
        static void Main(string[] args)
        {
        }
    }
}
Let’s now look at the contents of program.cs.
At the top of the code(highlighted in blue), you will see the libraries that you may or may not need to write some code.
At the bottom of that code there is a namespace - that is a scope - if I hover over it you will see a lighter color - all of that lives in the namespace scope. We will cover this later.
using System.Threading.Tasks;

namespace Demo.App
{
    class Program
    {
        static void Main(string[] args)
        {
        }
    }
}
Further down there is also a class. C# as an object-oriented programming, is a bunch of classes that have few properties and few actions which we call methods.
namespace Demo.App
{
    class Program
    {
        static void Main(string[] args)
        {
        }
    }
}
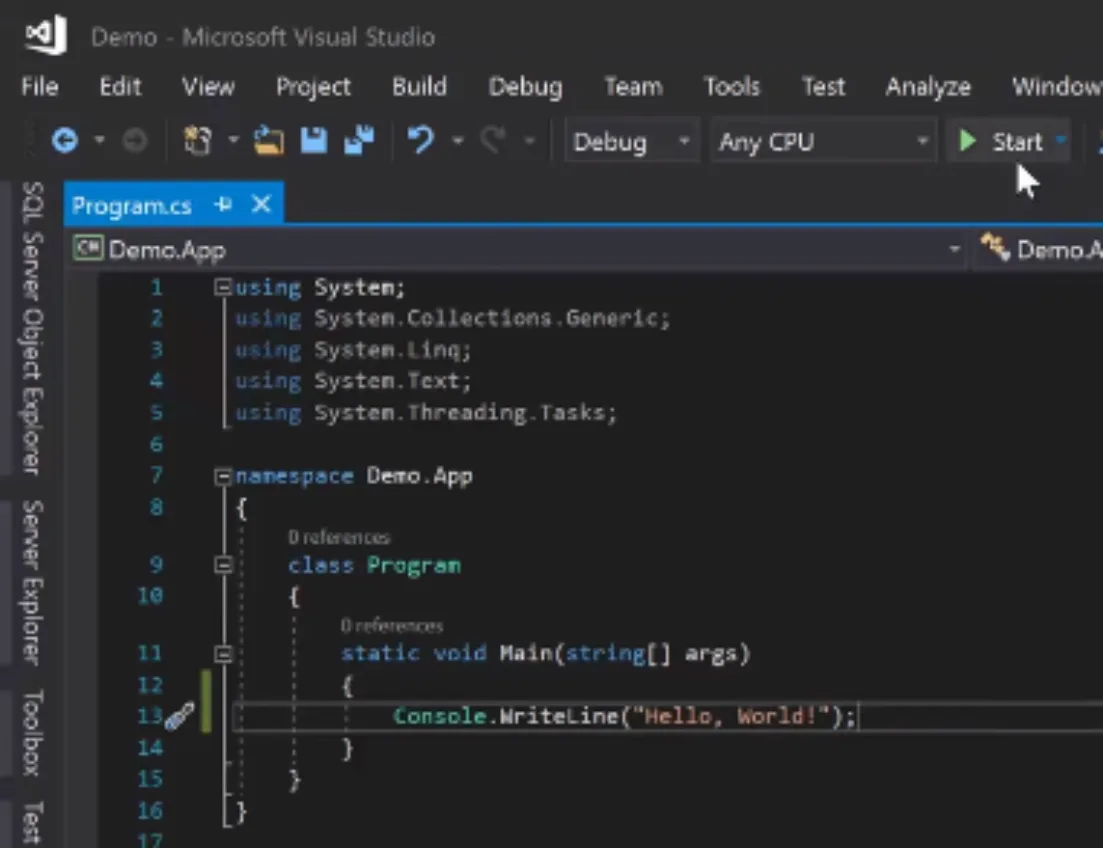
This main class is called class Program - that’s your program that you’re running and within that main method is where all our code is going to be for the next couple of sessions.
using System;
using System.Collections.Generic;
using System.Linq;
using System.Text;
using System.Threading.Tasks;

namespace Demo.App
{
    class Program
    {
        static void Main(string[] args)
        {
            Console.WriteLine("Hello, World!");
        }
    }
}
Your main method is where you begin. If I go in and type something like
Console.WriteLine("Hello, World!");and then I click start at the top, the black monitor will pop up real quick and then it’s gone. It shows "Hello, World!", and then it disappears.
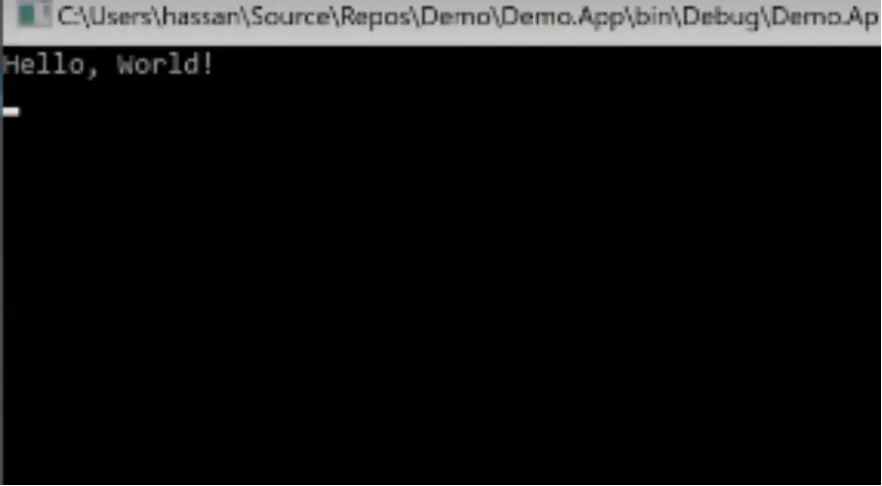
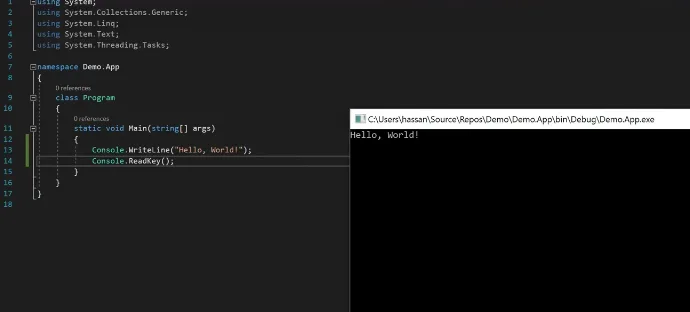
But if I add Console.ReadKey(); - now the window is going to stay open until I press any key.
using System;
using System.Collections.Generic;
using System.Linq;
using System.Text;
using System.Threading.Tasks;

namespace Demo.App
{
    class Program
    {
        static void Main(string[] args)
        {
            Console.WriteLine("Hello, World!");
            Console.ReadKey();
        }
    }
}
The Console window will always show you the message you have typed.
Now that I’ve given you some information, what I’d like you to do is look around, and try to build a project like this. Become familiar with how it works, and try to print different messages using Console.WriteLine(); and Console.ReadKey();